Learn how to increase game loading speed on the ROG Ally
We apply the Meristation mod to the ROG Ally and modify the ASUS notebook with a PCIe NVMe M.2 (2280).

Handhelds such as Valve’s Steam Deck and the ROG Ally have arrived to extend the experience of PC Master Race lovers when they are away from their assembly and also in the hands of gamers looking for an experience that goes beyond the Nintendo Switch in terms of catalog, graphics, and games. Although, punctually, the ASUS portable PC comes limited by the 512 GB of memory, since both the operating system and all the additional software prevent the installation of several games. This modification comes from the experience of owning one since we could not even have more than 4 AAA games on this device.
The price issue
The ROG Ally comes with a 512GB PCIe 4.0 NVMe M.2 SSD (2230) with an average speed of just over 4200MB/s. However, if you want to increase the space to around 2TB, these drives are a bit more expensive compared to the 2280 (regular) ($40 to $60), and the speed is about the same. So we are looking for a better alternative to get more space and speed.
The ROG Ally mod à la Meristation
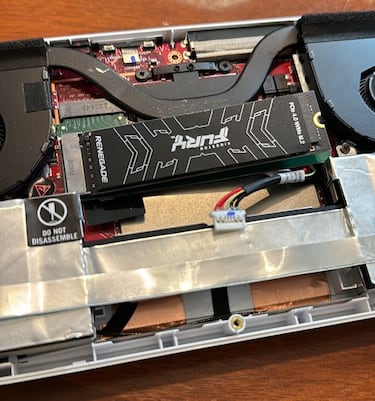
In this review, we decided to push our urge to mod the ROG Ally with the AMD Ryzen Z1 Extreme processor to the limit. To do this, we looked for a PCIe-compatible SSD, which we found to be the Kingston Fury Renegade (2280) with a claimed read speed of 7300MB/s and write speed of 7000MB/s.

To perform this modification, we installed a 0.866x1.181 to 0.866x3.150 vertical M.2 adapter that fits perfectly inside the ROG Ally for only $13.

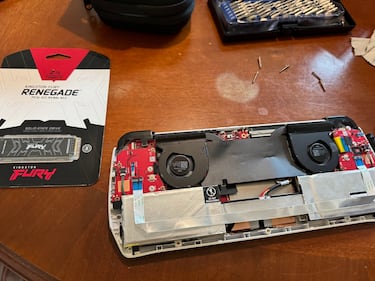
To do this, you need to remove the six screws on the back, disconnect the battery, and carefully unscrew the 2230 SSD so you can place the adapter with the 2280 SSD already installed. Once the 2280 SSD is in place, screw both the solid state drive and the adapter into the same place where the 2230 SSD was screwed in.
Finally, we need to reconnect the battery, close everything and replace the 6 screws to connect the ROG Ally directly to the power supply.
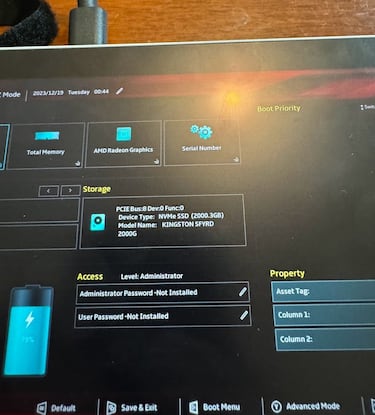
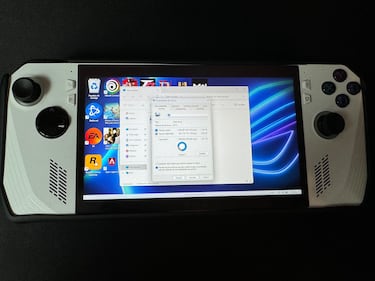
Once turned on, it will send us to the BIOS and the new SSD should appear on the first screen. We need to click on advanced options and then on ASUS Cloud Recovery. It will ask you to connect to your preferred network and the process will begin. It is important to note that the reinstallation time is a little longer than a clean format of Windows, but it will be worth it.
Speed results
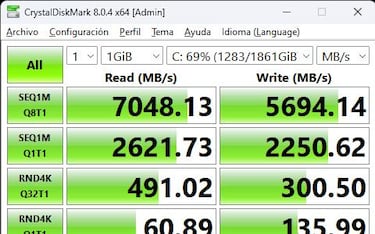
Since we reinstalled everything and updated the ROG Ally’s operating system, drivers, and specific programs, we performed the speed tests with CrystalDiskMark and obtained the following results.
Related stories


As we can see in the table, we improved the read speed by 63%, bringing it up to 7048.13 MB/s with 5694.14 MB/s write. All this was reflected in the loading times of most of the games we installed and, more importantly, with a savings of almost 50 dollars.
We hope that this little tutorial will help you to increase the storage space and especially the loading speed of your favorite games.